

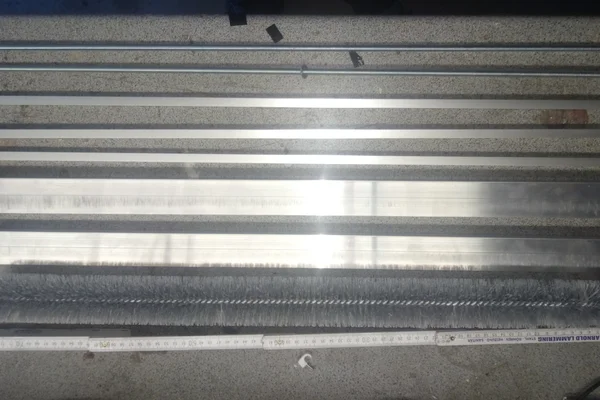
This is my biggest and most difficult project so far. The goal was to build a machine for cleaning my glass roof. A big challenge is the steep slope of 25%. First attempts failed to drive off the complete track. The crawler slid away, the engines or gears failed. After various attempts, I have decided for the current drive.
This is my biggest and most difficult project so far. The goal was to build a machine for cleaning my glass roof. A big challenge is the steep slope of 25%. First attempts failed to drive off the complete track. The crawler slid away, the engines or gears failed. After various attempts, I have decided for the current drive.
Step 1: Part List
Metal profiles for the frame:
- 1m Aluminium round metal rod 10mm
- piece of Aluminium round metal rod 6mm
- 2m Aluminium Square Tube 10x10mm
- 2m Aluminium L profile 45x30mm
Threaded rod :
- 3m M8 with lots of nuts and washers
- 1m M6 ”
- 1m M5 ”
- 0.2m M3
Screws:
- 12x M3x12 (for Motors and gear)
- 6x M3x50 (for drive wheels)with nuts
- M5x30
- M6x30
- M4x30
Bearings:
- 6pcs. 5x16x5
Electronic:
- Micro Submersible Water Pump
- Arduino Pro Mini (ATmega32U4 5 V 16 MHz)
- 2 pcs. NEMA 17 stepper motor
- 2pcs. A4988 Stepper driver
- Arduino Relay module
- 550 Electric Brushed Motor
- Standart Servo (or better metal version with more torque)
- Hole Tinned Universal Breadboard
- Pin Headers male/female 2.54 standard
- L7805
- LiPo 3.7V 4000-6000mAh
- LiPo 11.1V 2200mAh
- Ferrite Core Cable Filter
- BT Module HC-06
- caps, 3×100µF,10nF,100nF
- resistor, 1K,22K,33K,2×4.7K
- Fuses. 10A for brusher motor battery, 5A for “GRawler” battery
Other:
- plastic box for electronic parts, approximately 200x100x50mm
- Extra Long Radiator Brush (800mm)
- plastic canister 2l
- 1.5m Aquarium/Pond Tubing OD: .375 or 3/8 or 9.5 mm; ID: .250 or 1/4 or 6.4 mm
- Caterpillar / plastic track
- long wiper blade (min 700mm) from truck
- a lot of cable zip ties
- insulating tape
- shrinking tube
Tools:
- hot glue gun
- bench drill
- drill 1-10mm
- 3D Printer
- small wrenches
- screwdrivers
- soldering station
- various pliers
- hacksaw
- file
Step 2: 3D Printed Parts
A lot of parts are made with my 3D printer, common settings:
- Nozzle diameter 0.4
- layer height 0.3
- infill 30-40%, choose more for the gears
- Material: PLA with heatbed
Step 3: The Brush
For the rotating brush i use an extra long radiator brush, be sure that the real brush has a minimum length of 700mm, after searching the webstores a while i found the right one. Cut off the handle and let the shaft project 20mm on both sides.
The shaft of my brush has a diameter of 5mm, this fits perfectly in the bearings of the side parts.
To prevent the slippage of the shaft i use a small alu tube with a shrink tube, the other side is fixed by the gear.
Tip: If the bristles are too long the rotation will get very slow/off.
In this case simply shorten them with an electrical hair cutter, as i have done 🙂
Step 4: Framing
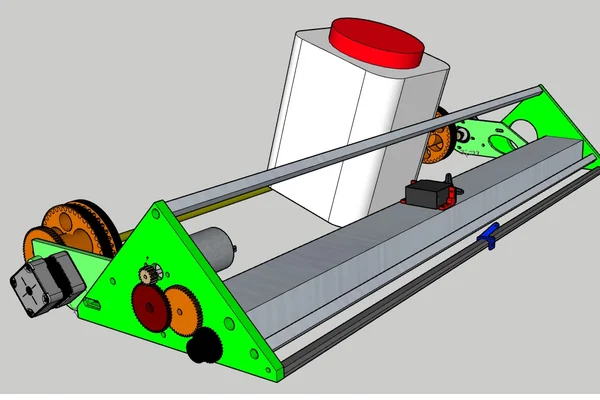
Think beforehand how wide the crawler should be, or how wide the lanes are to move along. The length of the profiles and threaded rods depends on that, i use 700mm.
Make sure that the profiles dip 1-2mm into the side panels
Through the side panels and the profiles, the threaded rods (M6 or M8) are inserted and screwed from the outside.
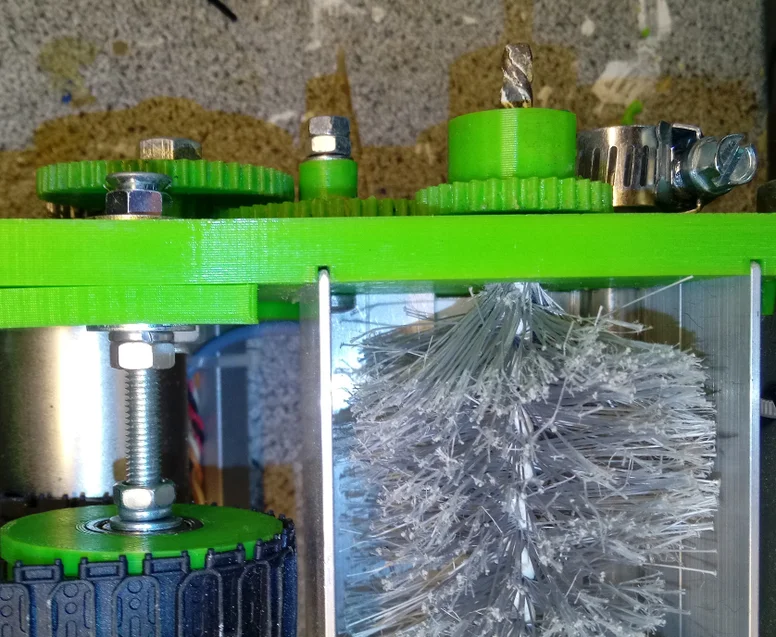
Step 5: Gearbox for Brush
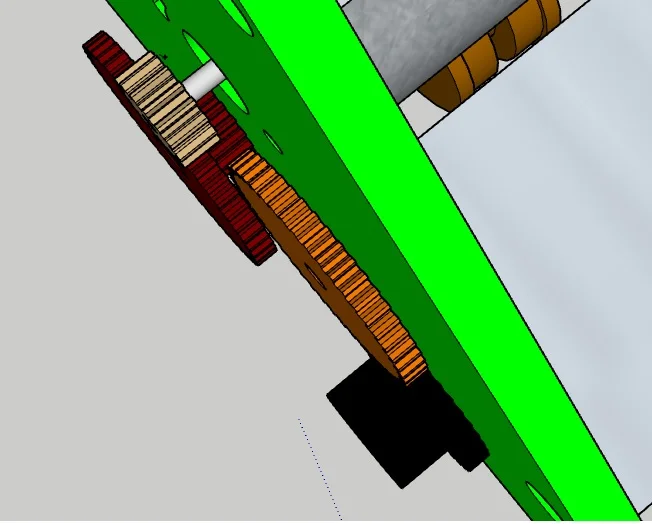
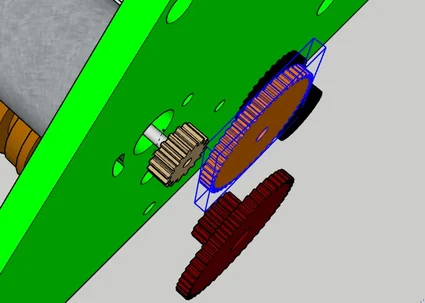
The gearbox of the brush consists of 4 gears.
For a better smoothness, the double gear is fixed with a piece of a brass tube (diameter 8mm) and screw M6.
The other gear is fixed with a M4 screw and locknut.
The brush gear is fixed with two M3 screws, do not forget to put the nuts in the gear wheel first.
The motor is attached by M3 screws to the sidepart.